How-To Make Your Own
(Last updated 7-8-13)
I'm getting ready to make up a bunch of new rag baskets because I'm all stocked up with fabric, but first thought I'd show you some of my pictures from ones I've already made.
The one with the green polka-dots and flower liner is my favorite.
1 yard of leftover fabric (I buy discounted shirts or sweaters from the dollar store)
1 yard of cording (fabric store) or rope (dollar store)
1. Cut your fabric into long pieces (even up to a couple of feet). It's easier if the fabric is one long piece instead of broken up pieces. Cut the fabric into 1 inch wide.
2. Keep your cording or rope all together - do not cut it until necessary.
3. Begin wrapping your fabric around the cording glueing it to the cording about every 1-2 inches.
4. Continue wrapping and glueing.
5. Here's the fun part - once you have several feet wrapped, begin shaping your basket into an oblong or round basket, glueing the cording together as needed. There are several pictures in this post to show you your options.
The red basket in the middle is also one of my favorites.
Sorry that I don't have any how-to pictures with this post, but I'll update this post with pictures along the way this time. Hopefully this will get you started for now. The pictures here are some of my most popular baskets from my ETSY shop. Enjoy and have fun making them!
My ETSY shop has some of these baskets.
Good luck!
Annabelle

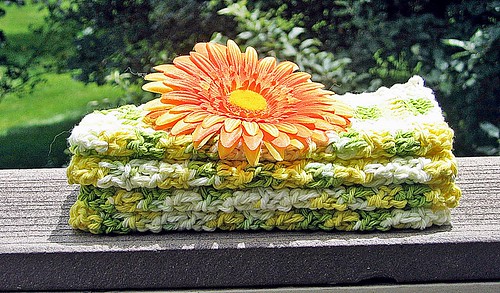
 Washcloths - Yellow and Green


